Spider Lift Operation: A Brief Guide For Professionals
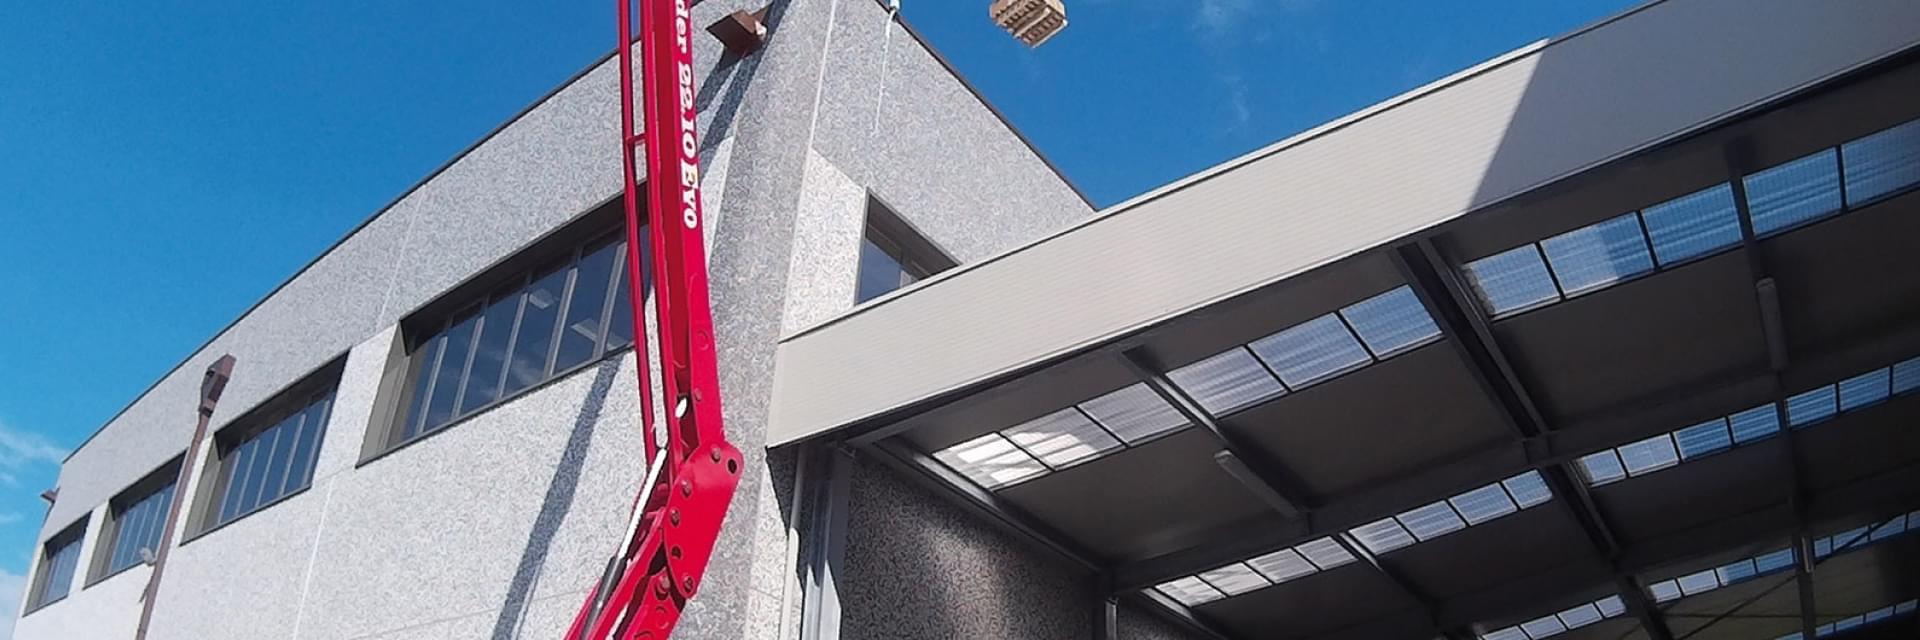
When you think about a spider lift, you automatically picture vertical movement. After all, the invention of a spider lift came with the intent to make elevated work easier.
Today, Platform Basket Canada, one of the most trusted suppliers of spider lifts in North America, has perfected the art of vertical movement. Our carefully engineered spider lifts are not only capable of tackling complex job sites but they also offer unmatched access capabilities and easy operation.
In this guide, we will walk you through the best practices to operate our spider efficiently and safely – whether it is for tree care, construction, or utility and maintenance work.
How To Operate Spider Lifts Safely and Efficiently
A couple of important steps need to be considered for the safe operation of spider lifts. To get the best performance from your machine, follow the operation instructions below.
Step #1: Get familiar with your machine
A spider lift might be simple to use, but it is a sophisticated machine. Knowing it inside out will help you operate it correctly. Whether you choose an electric, hybrid or a diesel model, get familiar with its size and specifications.
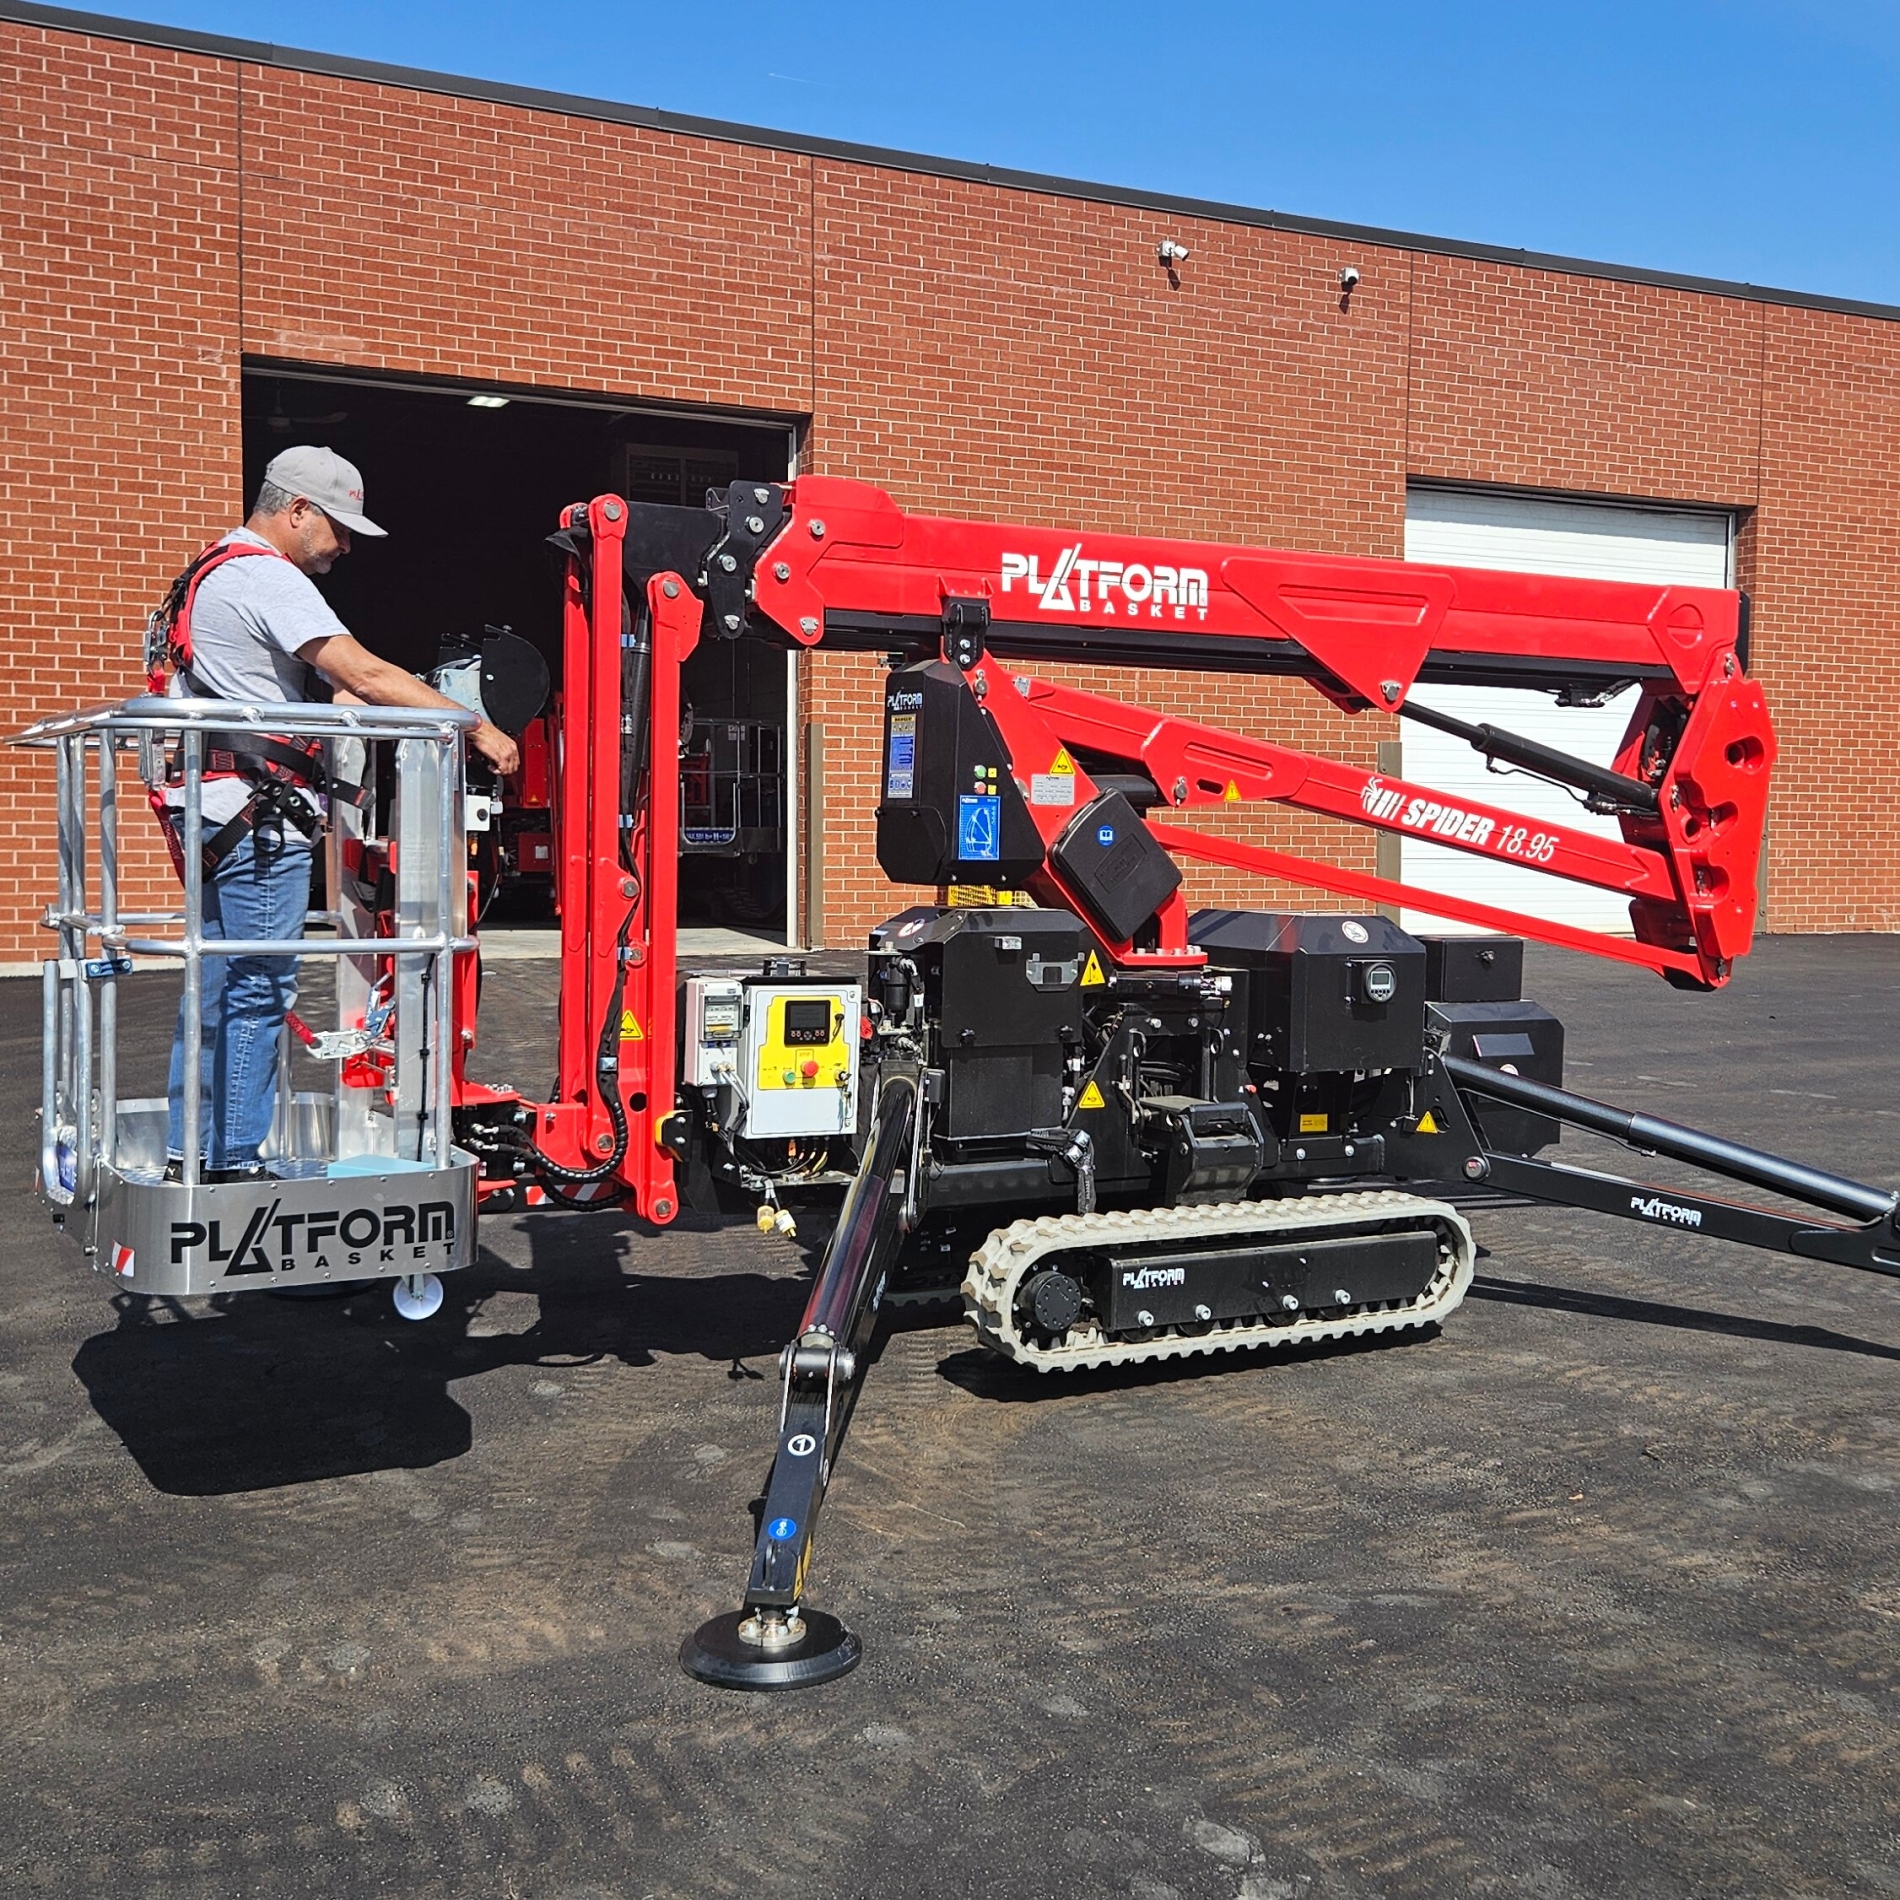
At Platform Basket Canada, all our spider lifts feature stable footing and intuitive controls in a compact build for your convenience. That said, here are the components you should acquaint yourself with:
- Tracks and chassis: Their purpose is to ensure stability and low ground pressure so you can use your lift on sensitive or uneven terrain.
- Outriggers: These are the four legs of a typical spider lift and their goal is to provide a secure and level base.
- Control panels: These typically feature a joystick and offer you easy ground and basket controls.
- Power source: This will vary depending on the model you get. So be sure to familiarize yourself with it before you start the machine.
Take your time to know each of these components. The better you understand the different parts of a spider lift, the more confident you will be when you hit the ground with it.
Step #2: Perform a pre-operation lift check
Safety begins with inspection. Whether you have rented a spider lift or gotten a brand new one to add to your fleet, you must check it thoroughly before each operation. Catching issues before use is the safest way to prevent accidents.
Here’s what your daily inspection should include:
- Visual checks: Be on the lookout for issues such as loose fittings, leaks, and visible wear of cables, hoses, and tracks.
- Fluid levels: Check your machine’s hydraulic fluid and coolant levels or battery charge in case of hybrid or electric models.
- Safety systems: Pre-test essential mechanisms such as alarms, emergency stop buttons, and control interlocks.
- Platform condition: Make sure the lanyard points, flooring, and guard rails are in good condition.
- Ground assessment: This one is outside of the lift. Check the stability of the ground of flooring you will be operating on.
Treat this pre-operation checklist as your guide.
Step #3: Position and stabilize your lift
Though all our aerial lifts are compact and capable of fitting anywhere, we suggest placing your platform properly before you commence operation.
- Choose your position: After you are done assessing your job site, move your lift to the best spot for vertical access using its rubber tracks. Rubber tracks make it easy to navigate tight spots. They are also suitable for uneven outdoor grounds.
- Deploy outriggers: Use the automatic leveling system and extend all four legs of the lift. Use outrigger pads if you are operating on particularly challenging ground. They will help in the even distribution of the lift’s weight.
- Check stability: Most platforms come with indicator lights that confirm correct leveling. Check them to see if everything is properly aligned. A stable base will ensure you can raise the boom without causing accidental tip-overs.
At Platform Basket Canada, we offer self-leveling spider lifts so you can trust their stability on all kinds of grounds.
Step #4: Move with proper planning
Before you begin operations in earnest, try to visualize your workflow onsite. Knowing what’s directly above and around your lift can help you map the most effective spots for elevated access. Factor in the final position of your boom as well so you have an idea of how much space it will need to extend and rotate.
You should also check the site for any overhead hazards such as branches and power lines. Planning for each of these factors will help you move your aerial lift in the most efficient manner. It will also minimize the need for mid-operation repositioning, which is often the leading cause of operator error.
We recommend having a spotter on ground with you at all times so they can help you navigate around obstacles in a relatively hassle-free manner.
Step #5: Exercise precision during operation
Now that you have laid the groundwork with inspection, site assessment, and planning, it is time to let your spider lift do what it does best - move and elevate.
Here’s how to get started:
- Power it on: Use your lift’s controls to activate it and briefly test its boom extension at a low height.
- Move steadily: Small, deliberate movements are key to maintaining balance. Use the joystick to carefully move the boom and the basket in an incremental fashion.
- Monitor load capacity: Each spider lift comes with a rated weight limit for its basket. Make sure you stick to that weight limit. Exceeding it can have unwanted consequences such as destabilization and damage to the system.
- Stay aware: Look straight in the direction you plan to move the lift in so you can navigate your way around obstacles. Also, make sure you are in constant touch with your spotter so you can avoid accidental collisions or missteps.
Our aerial lifts feature intuitive control, which makes it easy for you to work at heights without the fear of accidents or tip-overs. You also get the ability to use our platforms with remote control systems, which not only makes the positioning safer but also allows you to use our lifts in the tightest spots.
Step #6: Maintain safety while working at heights
Once you are in an elevated position, you need to be highly disciplined and aware at all times. It’s critical for your safety – just as the following things are:
- Wear a harness: Your lift has an anchor point. Make use of it and connect your fall arrest system to it until it’s time to descend.
- Avoid overreaching: It is better to reposition the basket or the platform instead of over-extending yourself against the guardrail.
- Monitor wind speeds: Even if your machine is rock solid and stable, high winds still carry the threat of destabilization so be mindful of them.
- Stay alert: Though a certain amount of lift movement is normal when you are in the basket, excessive swaying, vibration or drift can be risky. If you notice any of these, descend immediately and check if your set-up is optimal.
To ensure steady positioning and minimal sway, each of our spider lift models come with hydraulic controls and a stable basket design. Safety is guaranteed – even at full extension.
Step #7: Descend and retract
Done with your task? Now it’s time to descend carefully and get your spider lift ready for shutdown. Here’s what to do:
- Retract the boom fully: Keep an eye out for overhead obstacles and retract each section as slowly as possible.
- Power down controls: Use your machine’s interface or remote system to turn it off. Be sure to disconnect the power source as well if you are using an electric or a hybrid lift.
- Retract outriggers: Make sure each leg is in its resting position before you move your lift to storage.
- Clean and inspect the lift: Remove all debris and clean your platform. Check for damage and wear. Also, be sure to refuel or recharge your lift as necessary.
- Transport with care: If the storage space is far away from your worksite, make sure your lift is folded and securely attached to your chosen vehicle before it’s transported.
Following a proper shutdown routine can help you extend the lifespan of your aerial lift. So can regular maintenance and timely repairs.
Conclusion
For first-timers, operating a spider lift can be daunting. But that is not the case when you know the steps and have received certified training to operate MEWPs (Mobile Elevating Work Platforms). Then all you have to do is plan, prepare, and move with precision and awareness.
Of course, your choice of spider lift is also important. It has a direct impact on safety and stability during operation. Platform Basket Canada provides easy-to-operate, self-leveling spider lifts in Mississauga, Ontario. Contact us to learn more about our models or to book a demo.
FAQs
Does spider lift operation require a license in Canada?
All spider lift operators must receive prior training in the safe operation and handling of MEWPs. As long as your certificate is compliant with CSA B354 standards, you do not need a separate license.
Does the condition of the weather affect spider lift operation?
Yes. Extreme weather of any kind – from high winds to heavy rains and snowstorms – can create unsafe conditions for spider lift operation.
How long does it take to set up a spider lift?
It takes about 5 to 10 minutes to fully deploy a spider lift. However, factors such as ground conditions and site complexity can extend this timespan.